Shared Knowledge
"Heating, Ventilation and Air Conditioning (HVAC) - How to Clean Compressor Coils"
6 July 2015
Summary: Besides changing air filters a minimum of every 6 months, every couple of years, the coils surrounding the outside compressor should be cleaned. Certainly a do-it-yourself (DIY) job.
Background:
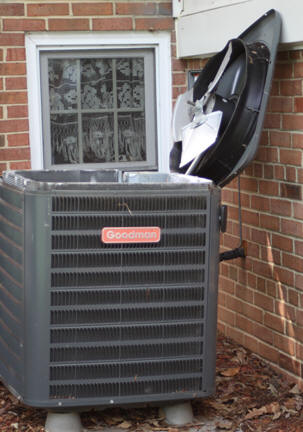
5 ton unit.
Installed 2008.
Sits underneath Leyland Cypress trees.
Cleaning coils:
Air is dirty.
The compressor unit's fan pulls outside air through the compressor coils and expels it out the top.
Over time, compressor coils become dirty reducing their ability to radiate heat or efficiency of compressor unit.
To clean compressor coils, you can simply turn off the compressor unit, quick disconnect, and spray the coils with a hose.
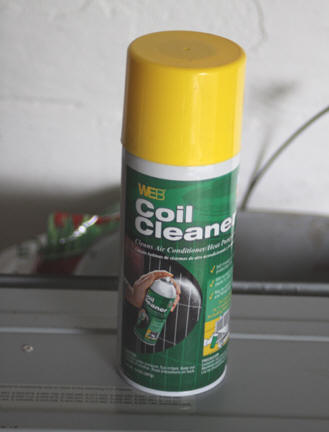
But to enhance coil cleaning, use a can of coil cleaner. For my 5 ton unit, I use 2 cans of cleaner. Cleaner is available at most big box lumber retailers.
Whether you use a cleaner or just a water hose, you need to turn the compressor unit off by the quick disconnect mounted near the compressor.
To disconnect, first set the inside thermostat to a temperature way above room temperature and/or go to your circuit breaker box and turn off the breaker for the compressor you are working on.
Now open the quick disconnect box and pull out the fuse or the bus bar.
.jpg)
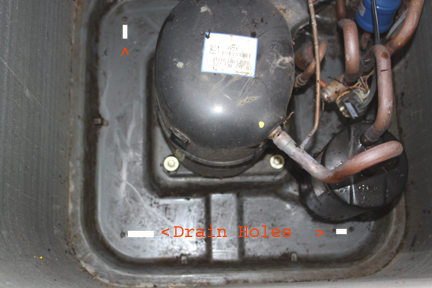
With compressor dead, look under compressor unit and make sure it is clear. Most units sit up on 4 pedestals.
As water drains out the unit from the bottom, underneath needs to be clean.
Now wait for 30 minutes for compressor coils to cool off.
With compressor dead, you can simply use a hose to send water through the coils on all sides of the unit.
Start at the top and work down.
Do not rush. The entire unit should take at least 1/2 hour or more.
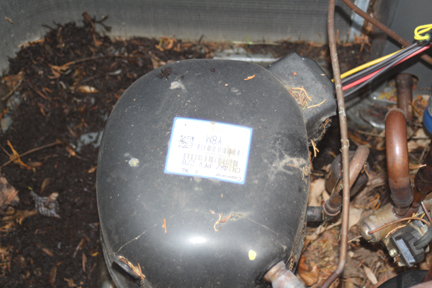
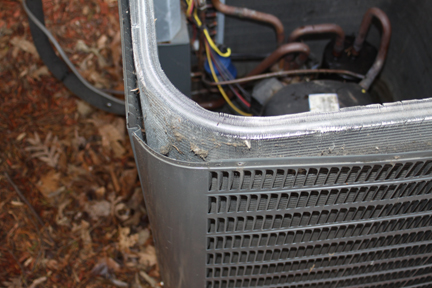
In my case, since the unit sits under trees, I knew the inside bottom of the unit would be full of leaf debris and opted to take top off unit.
To take top off, all I had to do is use a screwdriver/nut driver to remove all sheet metal screws holding the top/fan in place.
Below shows the top off my unit.
If you remove top, go slowly as fan is going to be hard wired to one corner of unit and do not want to damage wires or fan.
As expected, I found the bottom of the compressor unit had about 2 inches of leaf debris in it.
Using a yard scoop, scooped out debris and then used shop vacuum to get rest.
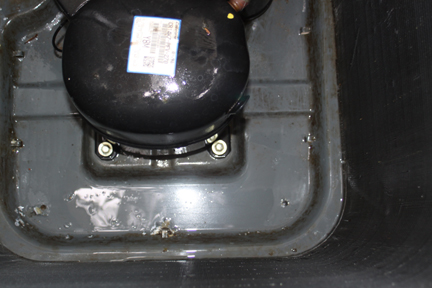
In the bottom of the compressor unit, there are holes in the pan to let rain water and other out of unit.
With debris covering bottom of compressor unit, water will eventually rust out the bottom.
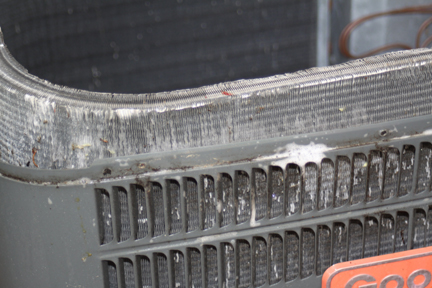
With top off compressor unit, can easily see dirt collected on compressor coils.
Below shows outside with foam cleaner applied.
Below inside of unit with foam cleaner applied.
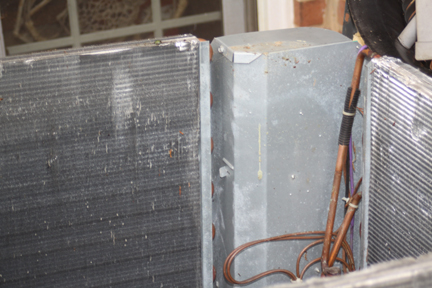
With foam cleaner applied inside and out, used hose to wash through fins from outside in and inside out.
Once done cleaning, made sure all water drained out of bottom.
Replaced top/fan.
Let unit set to completely dry out before turning circuit breaker back on and finally installing quick disconnect.
Ron Stultz.com - Shared Knowledge Home