Shared Knowledge
"HP DV1000 - How to Remove the Hard Drive"
17 February 2011
Summary: the hard drive must be removed: if it is defective; for a disk size upgrade; to remove the bottom cover of the laptop. Removal involves loosening 2 screws.
Background:
The hard drive in the HP DV1000 is an IDE type drive.
The hard drive is held to the bottom cover by 2 screws that also hold a plastic cover in place.
The hard drive is mounted into a hard drive caddy that is tabbed into the bottom case of the laptop.
Tools:
Small Phillips screwdriver.
To remove the hard drive:
Shut down Windows.
Unplug power adapter from back of laptop.
Close the LCD screen.
Remove battery.
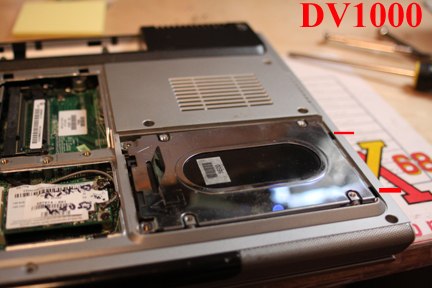
Looking on the bottom of the laptop, there are 3 removable covers. The largest one is the hard drive cover.
Loosen the 2 screws holding the hard drive cover in place. The screws are part of the cover and will not come completely out of the cover.
With the hard drive cover loosened, lift the cover up slightly.

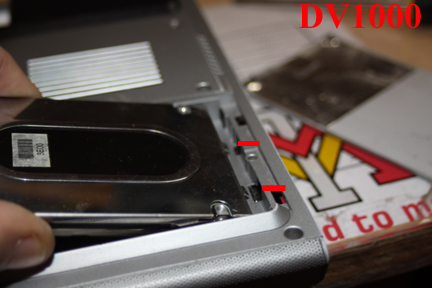
The hard drive plastic cover has tabs on it that fit into slots of the laptop bottom cover. Once the cover is loosened, pull the cover out of the slots in the laptop bottom cover.

Now gently lift up on the screw end of the hard drive. As was the case with the cover, the hard drive caddy is tabbed into slots in the laptop bottom cover. Once the screw end is up off the motherboard connector, pull the hard drive away from the laptop bottom cover.
